Showing posts with label crafts. Show all posts

Thursday, January 30, 2014

Mickey Birthday Banner

Our daughter's 2nd birthday is coming up and we chose to do a Mickey Mouse theme since that is her favorite character. I used my Silhouette Cameo with the Silhouette Design Studio to design the black Mickey heads. I used Cricut Craftroom with my Cricut machine to cut out the letters. 


Saturday, January 25, 2014

Mickey Birthday

Our daughter's favorite character is Mickey Mouse, so for her second birthday we are throwing her a Mickey party. This is her invitation that I made for the party. I used Mickey Mouse and Friends cartridge with my Cricut and Cricut Craftroom to cut out Mickey.


Saturday, January 4, 2014

Will you be my Valentine?

I chose to do a Valentine's card since it is only a little over a month away. I used a heart for the triple time stamping technique. The card is in various pinks and red.

Friday, January 3, 2014

Birthday Fun

My Mom turns 65 this month so I thought I would make her a birthday card. I decided to do some word play while making her card. I used my Cricut with the Cricut Craft Room for the lettering and sentiment inside the card. I used my Stampin Up owl punch and bird punch for the embellishments on the front.


Wednesday, January 1, 2014

Happy New Year!

It's the start of another year. My goal is to make a card for each day that I am at home. On the days we are gone on vacation I am not going to stress about. I originally wanted to do a card a day, but I know it's not completely possible when we are a busy family. I will do my best to do as many as I can. I used my Silhouette Cameo to cut out the greeting for this card. The greeting comes from Miss Kate Cuttables.


Wednesday, December 4, 2013

Rolled paper Christmas tree

I saw a rolled paper Christmas tree on a card and wanted to try it out. This is where I got the idea from: http://craftspotbykimberly.blogspot.com/2011/11/rolled-paper-christmas-tree-gift-bag.html

I cut each piece of paper 1 1/2 inches wide. I started out cutting the length at 4 inches and went down a quarter of an inch each time until I had nothing to roll. I think it would have been a bit easier if I had used thinner paper, but these worked out none the less. I used my Creative Memories star punch. I used my Stampin Up hexagon punch and cut it in half for the base of the tree.


Saturday, November 9, 2013

Christmas window

I did a really simple card today. I punched out 4 squares and used a big stamp to cover each of the squares. Then I positioned them equally apart from each other to get a pretend window look. I used a Christmas stamp for the sentiment.


Friday, November 8, 2013

Turkey Time

Tonight's inspiration comes from this page: http://321stamp.typepad.com/321_stamp_launching_creat/2008/10/punch-art-turkey-tutorial.html
My husband suggested that I do a punch art turkey and so I did.

All punches are Stampin' Up. I used 1 3/4" scallop circle punch minus 5 of scallops so that one side is flat. 1" square for the hat. 1" circle for the head. 1 3/8" circle for the body. Boho blossom punch for the beak (one petal of the flower) and the feet.

For the feathers I used double-sided paper and folded the sides in to the middle.

I placed the body on the feathers and here is the finished product of the turkey. Once I figured out I didn't have any Thanksgiving stamps that I could use I decided to use my Silhouette Cameo for the wording.

Thursday, November 7, 2013

Angels among us

I have decided to include a link to where I find my inspiration for each card. Tonight was another Pinterest find. Here is the link to my inspiration: http://www.bing.com/images/search?q=Free+Punch+Art+Ideas&view=detail&id=3952A3BF7505D584E897F4E272E6912D3AD206C4#a
I have been looking at doing punch art for quite sometime, but never had the right punches. I decided to get all the right punches so I could start and I love punch art so far. It's fun, quick, and easy.

All punches are Stampin up. From left to right the owl punch was used for the hair. I used the 1" circle punch for the face. I used the bitty shape circle and 1/2" circle or the halo. Pennant for the dress. Half a 1 3/4" scallop for the wings. Half a 1" circle for bangs.


Wednesday, November 6, 2013

Oh Christmas Tree

The Christmas tree for this card was made with the same punch (Stampin' Up mosaic punch)I used a few days ago for a different type of Christmas tree. I cut the diamond with my Creative Memories cutting system. While trying to find a sentiment to fit at the bottom of the card I found out that I don't have any Christmas stamps that will fit that area. Eventually there will be a sentiment on this card. 


Tuesday, November 5, 2013

Non-traditional Christmas Colors

Tonight's card was inspired by Pinterest yet again. Most of my ideas come from ideas I see on Pinterest. I chose to do non-traditional colors because it is not set in stone that the only colors for Christmas are red and green. Here is my card.

The card base is 10" x 5" folded in half to make a 5" x 5" card. The blue overlay is 4.5" x 4.5". The pink squares are 1 3/4" and the blue squares are 1 5/8" (it's the tick mark halfway between 3/4" and 1/2"). I embossed the blue squares with snowflakes. I cut out 1 1/4" circles for the snowmen faces and adhered them to the blue squares then cut around the edge to get the excess off. I cut the noses freehand and drew the smile on.


Sunday, October 27, 2013

Stamps

I have decided to take my mounted stamps off of their wooden blocks. I will be able to store them better and they will take up less room. Once I have them finished they will go inside cd cases that I have taken apart. 

Mounted Stamp

Rubber part of stamp pulled off.

Name of the product I am using for some of my stamps.

Part of the final step. At this point I then cut out the stamp so it is ready to use.

I plan on using Aleene's Tack It Over and Over for the rest of my stamps as this stuff is really sticky to deal with when cutting them apart. 

Saturday, September 28, 2013

From our family to yours

Today's card represents our family of 3; my husband, me, and our daughter. I have always loved Christmas with Halloween as a close second. I used my Cricut to cut-out the images. I used Sweater Weather for the stockings and Christmad Cheer for the fireplace.

Friday, September 27, 2013

Tuesday, July 30, 2013

Secret Door

The card base is 5" x 8". It is scored at 2", 4", and 6". It is then folded in half and cut from the fold line to the score line at 1 1/4", 2 1/2", and 3 3/4".

The 2 pieces of paper that are weaved in the slots are cut a 1 15/16 (1 tick mark less than 2") x 5"

This is how the card looks when you weave the pieces of paper in and it's completely open.

This is the card when it's closed (semi-closed in my picture). You can add an embellishment to help keep it closed.

Here is what the card looks like when you open the secret door.

Here is a link to the video I followed in order to make this card. http://www.youtube.com/watch/?v=KeSbbYawZDY

Sunday, July 28, 2013

Oh Hoppy Day

Not too much to ramble on about today. I hope that the summer weather comes back. It's too early in the year to be this chilly.

I used my square punch to cut out a total of 8 squares. I cut the white squares down just a tad so they would fit inside the blue ones. Then I used my corner rounder and rounded opposite corners of each square. I lined up the white squares on a piece of paper and stamped the image I wanted to use so that it would be all lined up. I placed the white pieces on the blue pieces. This is a 5 x 5 card.


Saturday, July 27, 2013

Give Thanks

I saw a Halloween waterfall card and wanted to make one. With the weather the way it is here in Wisconsin it feels like fall, so I made one using leaves as the theme. For me it was a rather easy card. Since it was my first time making it, it took time to get it figured out. Overall it was a fun card to make and it's fun to look at. 

This is the background layer of the card that goes on top of the card base. The card base is 5 1/2 " x 8 1/2". I used a stamp to create the leaf pattern. The layering piece is 5 1/4" x 4".

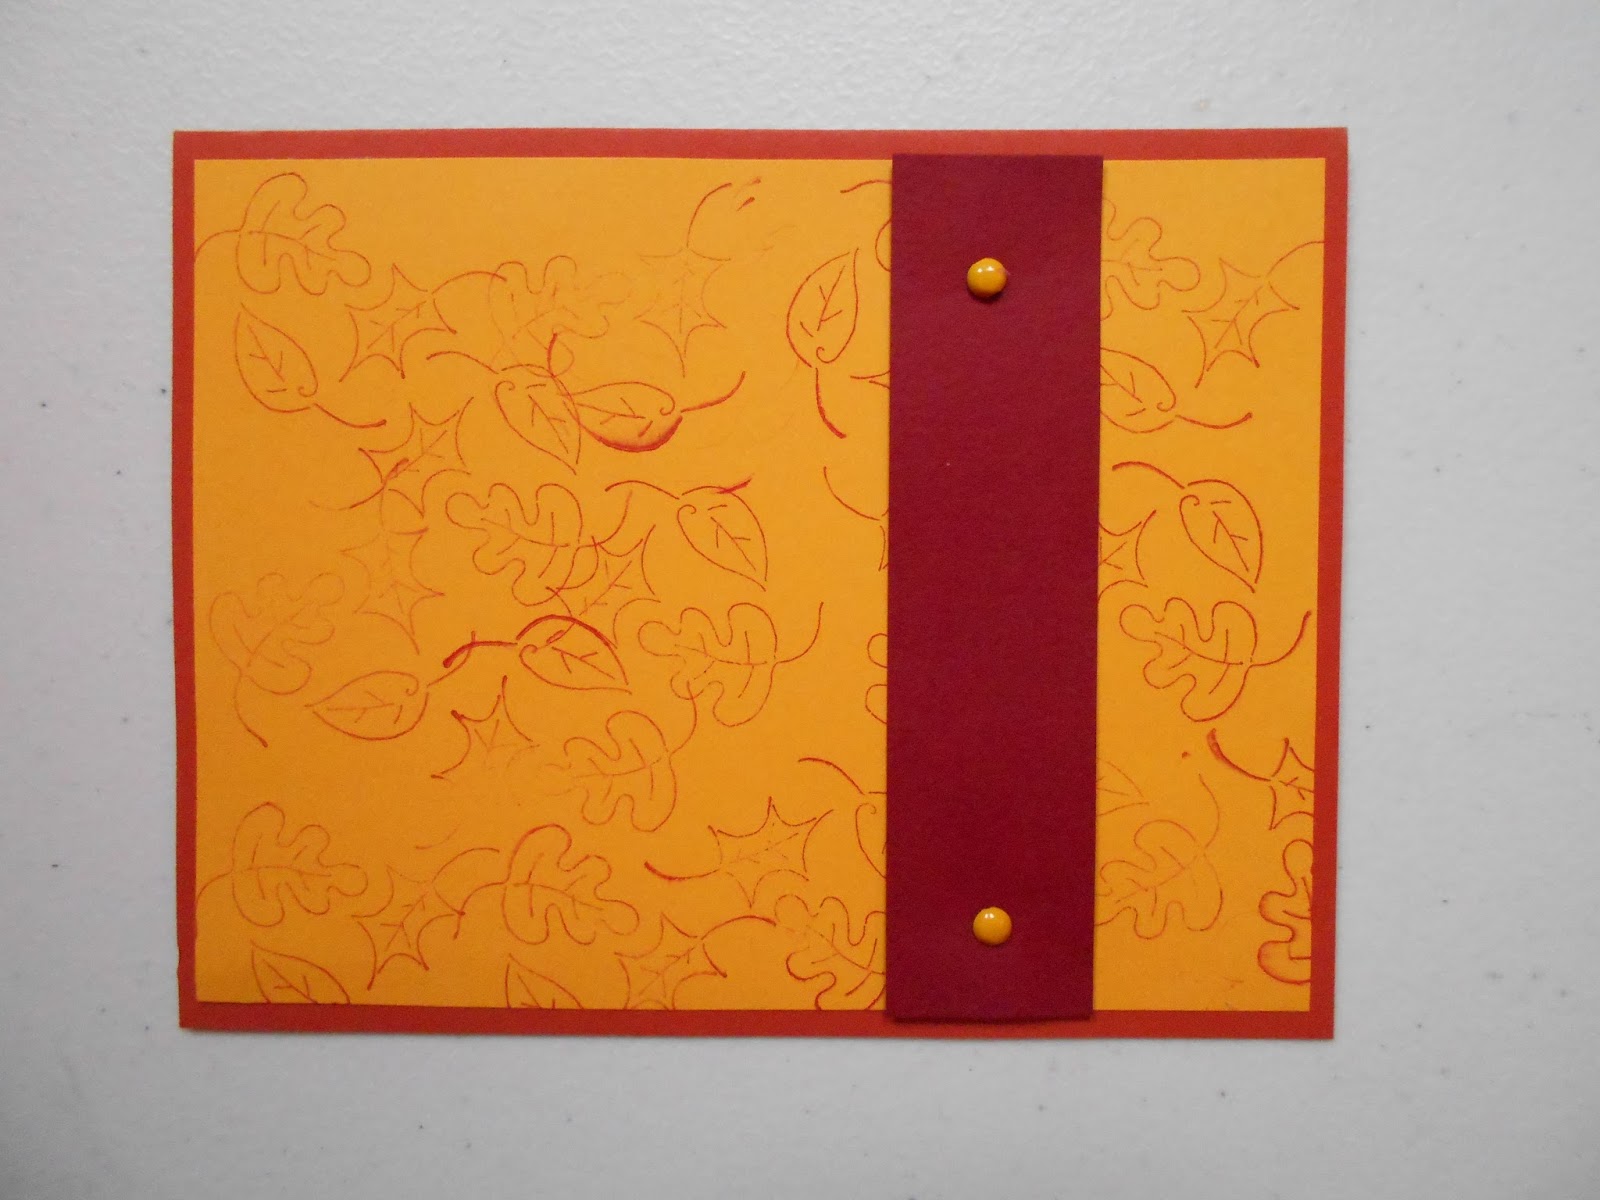
I put the layering piece on top of the burnt orange card. I added a piece of dark red with 2 brads so the piece of paper is not adhered directly to the background layer. The brad piece is 1" x 4".

This is the waterfall strip. I cut out 3 burnt orange squares and 3 white squares. I stamped each of the white squares with a leaf. The waterfall strip is 1 3/4" x 8 1/2". The waterfall strip is scored at 1 3/4", 2 3/4", and 3 3/4". The 3 burnt orange squares are 2" x 2 1/4" and the white squares are 2" x 1 3/4".

I slid the waterfall piece under the brad piece and attached a ribbon at the end so you can pull it out.

Same as above, but pulled out slightly.

Same as above, but pulled out all the way.

A video showing how the waterfall card works.

Friday, July 26, 2013

Eek! Spider!

This past weekend while we were waiting to meet up with someone I was looking at discount paper in one of the stores. I came across a lot of Halloween paper and ever since I have wanted to make a Halloween card, so here is my first Halloween card. 

I used my Creative Memories cutting system to cut the circle for the body, my Silhouette Cameo for the whites of the eyes, and a standard hole punch for the blacks of the eyes. For the legs I used my Stampin' Up corner punch.